In the time since my last post, we’ve gone to 2 AWS and began preparations for Lee and Mike heading to South Pole and Elina and I going to WAIS! More on that soon…
First, a brief but intense storm came through the McMurdo area on 4 December, bringing strong winds and snow. It got down to Condition 1 at Phoenix Airfield and the Road to Phoenix! I heard that the visibility was 0 at times. It did not get past condition 3 in McMurdo (unfortunately) but the wind was still very strong, creating wisps of wind-driven snow drifts.
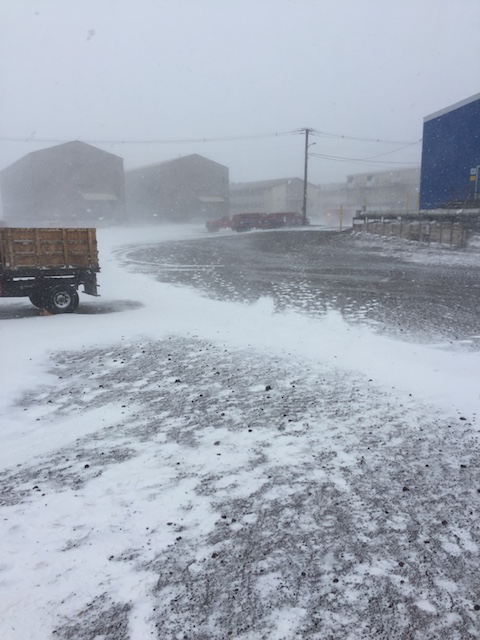
Storm with high winds and snow in McMurdo. The buildings in the distance are some of the dorms.
The storm left as quickly as it came, and the next day the weather was much improved, much to the pleasure of me and Elina. We had our crevasse training that day that entailed going out to a man-made crevasse to practice our rope techniques, self-arresting, anchoring, and climbing out of the crevasse, among other things.
The training began in the classroom as we first went over the basics of how crevasses are formed, where to expect crevasses, and how to walk around or over them. Crevasses form in glaciers when the glaciers undergo stress and strain. Glaciers are large chunks of ice that flow on land, like a frozen river, and when there is a mountain in their way, they flow around that mountain, causing the glacier to bend and eventually “break” or create large cracks, or crevasses. Such breaks can occur when the glacier flows over a slope of land, causing crevassing at the peak of the slope. Crevasses in Antarctica are particularly difficult to navigate through because they usually change rapidly, have a lot of unknown snow bridges, and are in very remote locations where few people have been. “Snow bridges” are when snow accumulates in the crack and can hide the crevasse. Sometimes, the snow bridges are deep and sturdy enough for people (and even heavy equipment) to cross. Other times, they are deceptively weak.
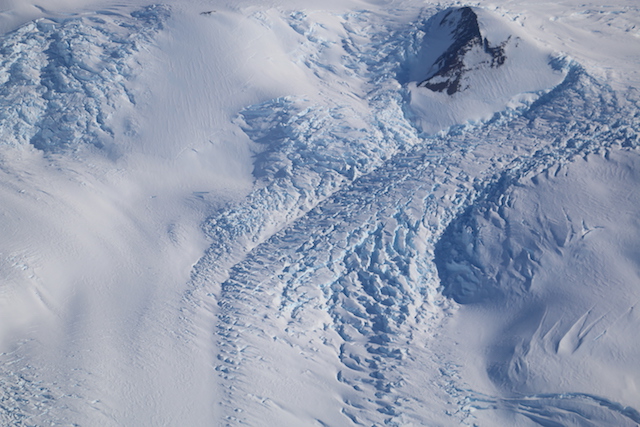
Crevasses in the Transantarctic Mountains as viewed from a Twin Otter ride I took last year. Snow bridges can be seen where there appear to be horizontal stripes in the snow. I don’t think I would want to walk in this crevasse field!
When walking near a suspected crevasse field, the team should rope up together, walking in a line, with no fewer than 3 people roped together. Each person has an ice axe in hand and wears a harness to which they can connect the rope, using either a figure-8 knot or a butterfly knot. These knots are useful because they can be tied in the middle of the rope, as opposed to needing one end of the rope. The person in front (who will be the mountaineer AKA expert, in our case) has either an ice axe or a pole to probe the snow surface. If they suspect a crevasse, they will test the snow bridge and determine whether it is safe for us to cross. If so, then it is very important for everyone to walk in the same path. This is because the mountaineer deemed said path as safe to walk on; if we were to deviate even a few feet, the snow bridge may be weaker and we could fall in.
If someone does fall in, there are 7 steps to follow: 1) Arrest the fall. 2) Build a snow anchor. 3) Transfer load. 4) Escape system. 5) Communicate with fallen team member. 6) Prepare the edge of the crevasse. 7) Build a hauling system. The biggest responsibilities for Elina and I, when we’re at Evans Knoll, will be to do steps 1 through 4. The mountaineer should be able to do all 7 steps and get the person out of the crevasse (we can help with the hauling, of course). Nonetheless, we went through all steps for this training to get firsthand experience of what to do.
1) Arresting the fall means, if a team member falls in a crevasse, the rest of the team should pin themselves to the snow as quickly as possible to stop the victim from falling further. We were taught how to properly hold our ice axes and dig into the snow, both with the ice axe and our feet. Once our feet are safely holding us steady, we can 2) build a snow anchor that allow the team members to 3) transfer their load onto the snow anchor so they can 4) escape the system. At this point, the team members can approach the crevasse, while safely hooked to the anchor, to 5) talk with the victim to learn whether they’re hurt and/or able to pull themselves out of the crevasse. Since the rope will dig into the edge of the crevasse, increasing friction and making it more difficult to pull the victim out, we can 6) prepare the edge of the crevasse by inserting an ice axe or something similar beneath the rope at the bend, so the rope slides primarily on the axe instead of digging into the snow. Once the 7) hauling system is in place, all team members can haul the victim out of the crevasse.
If the victim is not hurt and able to pull themselves out of the crevasse, they can do so by using 2 small looped ropes and tie 2 separate Prusik knots. Both of the looped ropes are connected to the main rope, with one connected to the victim’s harness and the other to one of their feet. Prusik knots are created by essentially looping the looped rope over the main rope a few times. When one pulls on the knot, it bends the main rope and increases friction, causing the knot to hold. To loosen the knot, one relieves pressure on it and straightens out the main rope. One can then slide the knot along the main rope with their hand. Given this, the victim will be able to climb up the main rope by first advancing the Prusik knot connected to their harness as far up the rope as they can while pushing on the second Prusik knot connected to their foot. Then they advance the second Prusik knot as far up the rope and ideally to the first Prusik knot, while the first Prusik knot holds because it is supporting the victim’s body weight and bending the rope. They repeat this process and eventually reach the top of the crevasse, at which point they and the field team members can pull them out.
For the second half of our crevasse training, the three of us went to a man-made crevasse just off the snow road to the airfields and on the McMurdo Ice Shelf.
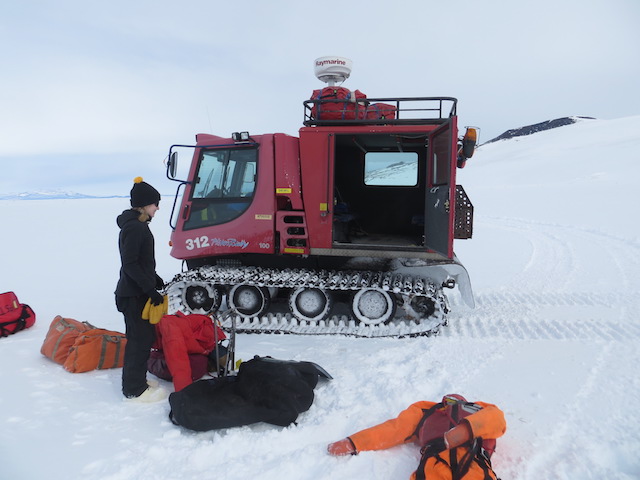
Elina, the pisten bully we rode in, and some of the gear we brought to the crevasse site. The piece on the lower right is our dummy and very brave crevasse victim for the day, Ruth Lee.
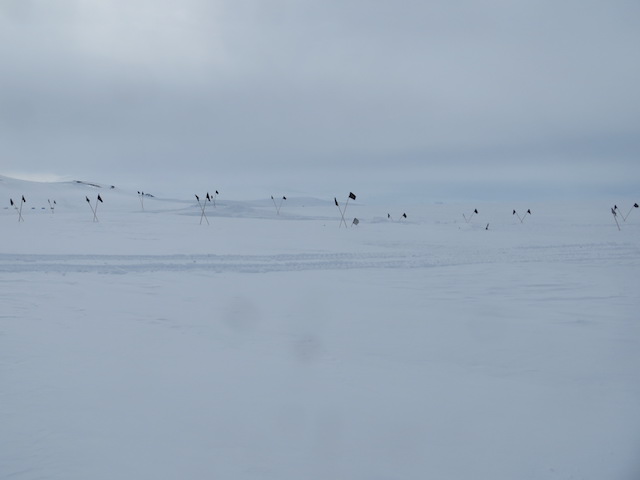
The crevasse…. Not much to look at from this angle. The flags mark its location.
Upon arrival, we all put on our harnesses and roped up, with me and Elina on the ends of the rope so we could practice arresting in the snow. When it was my turn, Jim and Elina walked and pulled on the rope in one direction, simulating someone falling into a crevasse. I then switch my grip on my ice axe from “walking mode” to “arresting mode”, fell on my belly and dug the ice axe into the snow. I kicked my feet into the snow, trying to get deep enough with my feet and the ice axe to stop from sliding on the surface. Then I could start digging the trench for my snow anchor.
After Elina and I practiced this several times, Jim showed us how to properly dig a trench, set up an anchor, and re-attach to the anchor without worry of anything slipping.

The snow anchor and rope, which leads to the crevasse on the right.
Elina and I then roped up, with Ruth Lee on one end. Ruth Lee then decided to investigate the crevasse to see just how deep and wide it was when BAM! She fell in! Elina and I arrested the fall in seconds, stopping Ruth’s fall about 10 feet from the surface. But it wasn’t as difficult as we had anticipated. One thing we didn’t realize was how much friction the rope caused at the edge of the crevasse. We thought Ruth would yank us hard when she fell, but that wasn’t the case. This friction works both ways, of course, so although it helped prevent a great fall into the crevasse, it also means it’s difficult to pull Ruth up to safety. This is where preparing the edge of the crevasse is important. We did so and were able to rescue Ruth. Today she can be found sipping hot tea in the Crary Library, reminiscing on her harrowing experience.
The last thing we did that day was practice climbing out of the crevasse ourselves, utilizing the techniques I outlines above. I think this was the most fun and satisfying part of the training.
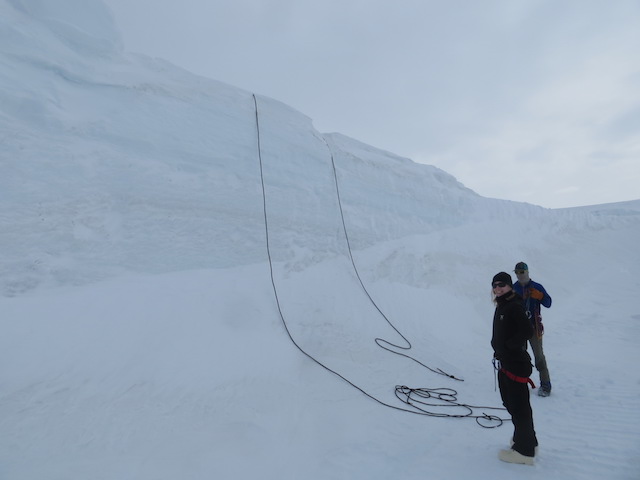
Elina (foreground) and Jim, with the two anchored ropes with which Elina and I would practice our escape from the crevasse (and a pretty hefty crevasse it is, right??).
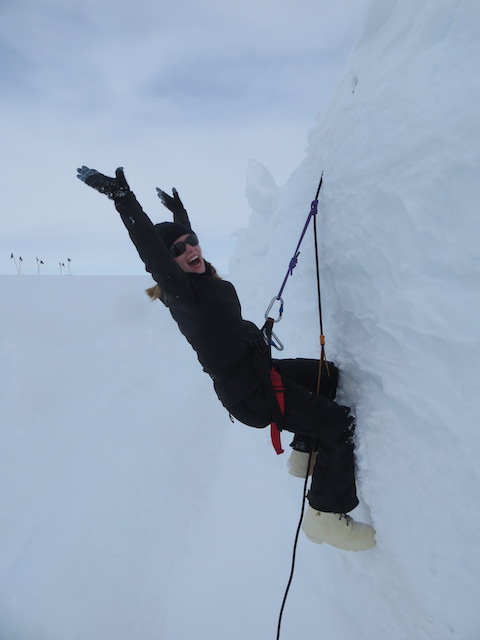
Elina was excited to save herself.

Climbing out of the crevasse!
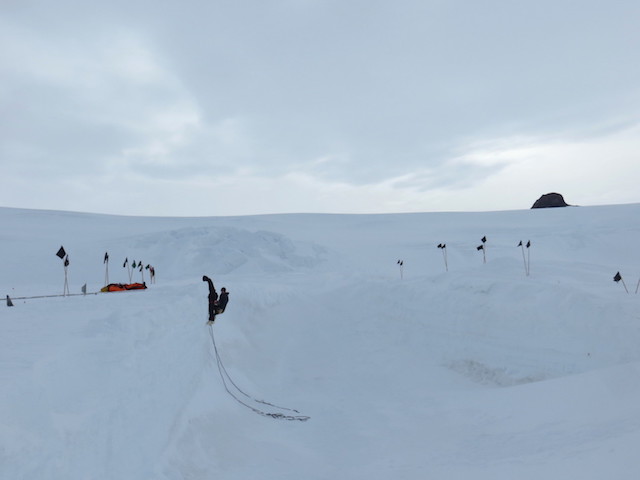
A full view of the man-made crevasse, with Castle Rock making the picture all artsy in the upper right corner.
Elina and I feel ready to conquer Evans Knoll now! We were very appreciative of the opportunity to practice these skills before heading out into the field there.
And as it turns out, I spent way more time on the crevasse training for this post than I thought I would. It is a very interesting subject, and writing this helped me remember some of the details. And now you all know them! Consider yourselves trained… sort of.
I’ll talk about Laurie II and Sabrina in my next post. Cheers! -Dave